How-to
How to grow mushrooms from store-bought mushrooms: the stem butt method
Published
Short answer
Yes, but only with some species. Fresh oyster mushroom stem bases (stem butts) can regrow on boiled cardboard: GroCycle reports full colonization in about 11 days to 3 weeks at 68 to 75 F. Button mushrooms do not suit the method and shiitake rarely beats the mold. Purchased spawn is the reliable route.
This page is for someone holding a pack of grocery oyster mushrooms and wondering if the trimmings can become a crop. The method costs almost nothing, and that is its main merit. Three things decide the outcome: how fresh the mushrooms are, whether the stem base is still attached, and how clean the cardboard and the container are. Supplier guides describe home-made spawn as less reliable and lower yielding than purchased spawn, so treat this as an experiment. It applies to edible grocery species only, never to mushrooms picked outdoors.
Can you grow mushrooms from store-bought mushrooms?
Sometimes. A mushroom is the fruit of a living network called mycelium, and the base of a fresh stem still holds some of it. GroCycle's spawn guide says that if a grocery mushroom is fresh enough, the stem is still alive after you cut it off and keeps growing in the right conditions. That trimmed base is the stem butt.
The species decides most of the result. Oyster mushrooms are aggressive wood eaters that can get what they need from plain cardboard, so they are the one store mushroom the guides checked recommend. The table shows where the others stand.
| Store mushroom | Worth trying? | Why |
|---|---|---|
| Oyster (pearl, blue, gray) | Yes, the best choice | Fast and aggressive, feeds on plain cardboard |
| King oyster (king trumpet) | As an experiment only | The guides checked vouch for oyster only, not for its relatives |
| Shiitake | Rarely works | Grows more slowly than oyster, so mold tends to outcompete it on cardboard |
| Button, cremini, portobello | No | They do not grow on wood in nature, so cardboard does not suit them |
| Lion's mane (lions mane) | Unknown | GroCycle says it is not sure the method works for less aggressive species |
What you need for the stem butt method
None of this is special equipment. The method replaces purchased spawn (a carrier such as grain that is already full of mycelium) with stem butts, and uses boiled cardboard as the first food. GroCycle notes that boiling water does not kill every competing fungus, which is why fresh mushrooms, clean hands and a clean container matter so much.
- Fresh oyster mushrooms. Eat the caps and keep the stems, bases included.
- Plain brown cardboard, several large pieces, without ink or printing where you can find it.
- A medium plastic container with a tight lid, plus a nail or screw and a lighter to melt a few air holes.
- A bucket or pot with a lid, and enough boiling water to cover the torn cardboard.
How to grow mushrooms from mushrooms: the steps
The steps follow GroCycle's stem butt method. Work on a wiped surface with washed hands, and start soon after buying the mushrooms: the fresher the stems, the better the odds.
- 1
Tear the cardboard into small pieces, about 1 to 4 inches across. Prepare enough to fill the container roughly two thirds once it is wet.
- 2
Put the pieces in a bucket or pot, pour boiling water over them until they are covered, put the lid on and leave them until they have cooled to room temperature. Then drain off the excess water.
- 3
Heat the nail or screw with the lighter and melt a few small holes in the container for air. A few is enough: the cardboard must stay damp.
- 4
Cut the caps off for the kitchen and keep the stems with their bases. Leave any white fuzz on the bases in place, because that fuzz is mycelium.
- 5
Lay damp cardboard in the container until it is about one third full, spread the stems over it in one even layer, then cover them with another layer of cardboard.
- 6
Close the lid, with elastic bands if it sits loose, and store the container in the dark at 68 to 75 F (20 to 24 C).
- 7
Check it after about 11 days. GroCycle reports full colonization in about 11 days in one guide and in 2 to 3 weeks in another, so allow 3 weeks before judging the result.
How to tell the cardboard is colonized
Success looks like white, thread-like mycelium running out from the stems across the cardboard until the pieces are bound together and mostly white. The smell stays earthy. At that point the container holds home-made cardboard spawn of the oyster you started with.
Failure is just as clear. Green, blue-green, black or orange patches, gray slime or a sour smell mean that mold or bacteria won. GroCycle calls contaminated home-made spawn almost never salvageable. Discard the whole container outdoors and do not eat anything from it. The colors are described in green mold on a mushroom block.
From colonized cardboard to oyster mushrooms
There are two ways on from here. For a bigger crop, mix the cardboard spawn into more boiled and cooled cardboard at about 1 part spawn to 9 parts cardboard, or into spent coffee grounds at about 15% spawn by volume. Use coffee grounds within 24 hours of brewing. Cardboard and coffee grounds suit oysters only.
To fruit the small container directly, GroCycle chills it in the refrigerator for about 24 hours (optional), then takes the lid off and mists a couple of times a day. From there the usual oyster rules apply: 85 to 95% humidity, fresh air and indirect light. Ranges per variety are in oyster mushroom growing conditions and in the temperature and humidity chart. For picking, see when to harvest oyster mushrooms.
Note.Cook the mushrooms before eating, and eat only mushrooms that plainly match the oyster you started from. Anything else that grows in the container is discarded.
How often does the stem butt method work?
No source checked gives a success figure, so none is given here. In words: GroCycle says the method works well with oyster mushrooms, and in the same guide describes home-made spawn as less reliable and lower yielding than grain spawn, with whole batches easily lost to mold. It is worth a try with fresh oyster stems. It is not something to plan a harvest around.
- Freshness: the stem must still be alive, so use the mushrooms soon after buying them.
- Plenty of stems: a full, even layer gives the mycelium a head start over mold.
- Clean handling: washed hands, a clean container and cardboard that was fully covered by boiling water.
- Steady warmth of 68 to 75 F. Cooler rooms slow the mycelium and give mold more time.
The reliable route: purchased spawn
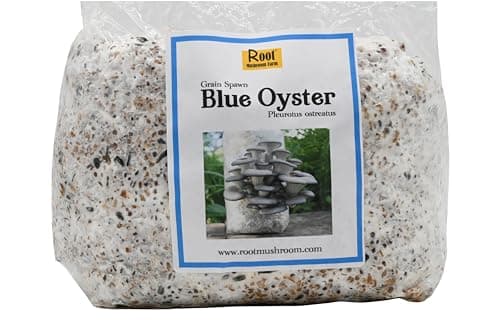
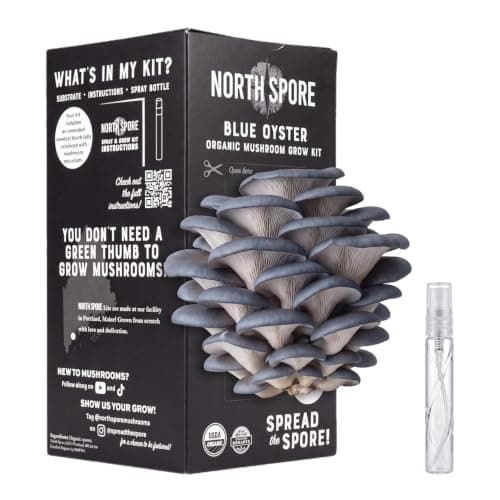
Purchased spawn is mycelium of a named species, grown out on grain or sawdust in clean conditions. GroCycle calls growing from it fairly foolproof compared with making your own. A bag of oyster grain spawn mixed into pasteurized straw at 10 to 15% of the wet weight is the standard first project, and it runs on a known schedule: 10 to 21 days of spawn run (colonization), then pins, the first tiny mushrooms, within 1 to 3 weeks. The steps are in how to grow oyster mushrooms at home. A ready-to-fruit kit skips the spawn run entirely.
Quick answers
Short answers to the common versions of this question. All of them apply to edible grocery species and to the cardboard method above.
- Can you grow mushrooms from a mushroom? Yes, from the living base of a fresh stem, not from the cap. Oyster is the species that responds well.
- Can you grow mushrooms from store bought mushrooms? Oyster mushrooms: yes, on boiled cardboard. Button, cremini and portobello: no. Shiitake: rarely.
- How long does it take? About 11 days to 3 weeks for the cardboard to turn white at 68 to 75 F, then more time to bulk it up or fruit it.
- Is it better than buying spawn? No. It costs less, but it is less reliable and lower yielding. Purchased spawn is the dependable route.
What you need for this
 See price on AmazonAmazon
Root Mushroom Farm blue oyster grain spawn, 5.5 lb
 See price on AmazonAmazon
North Spore blue oyster spray and grow kit, 4 lb
From Best oyster mushroom grow kits for blue, pearl and golden oysters
 See price on AmazonAmazon
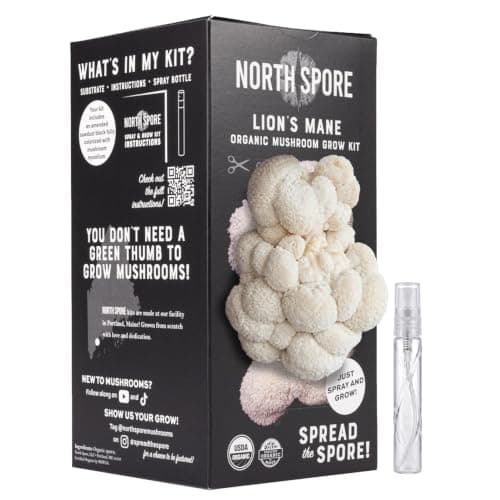
North Spore lion's mane spray and grow kit, 4 lb